Getting started with Parcel.js

When you are starting to develop a new, simple, static site, how do you start? Do you just create an index.html file and link a style.css sheet? What about if you want to use JavaScript module bundling, Sass, and minification of your final project?
If you want to make use of these features you can end up spending a fair bit of time installing and setting up the necessary pre-processors and tools, preventing you from getting started with your simple project.
If you want to spend more time writing code than setting up your tooling, you might be interested in using Parcel.js.
The completed code for this article can be found at https://github.com/codebubb/parcel-example
What is Parcel.js?
Parcel is a bundling tool which takes your source files like Sass, JavaScript, and TypeScript and processes them into a format that is useable by the browser. If you’ve used Webpack before then you’ll be familiar with this process.
The main difference with Parcel and other bundling tools is that it requires no configuration, it’s really fast and, as you’ll see, it handles installing of any extra dependencies required for you.
Installation
You can install Parcel globally so you can use it anywhere on the command line:
npm install -g parcelAlternatively, you can install it as a dev dependency as part of your project.
npm init -y
npm install --save-dev parcel
I’m going to take the second option for the rest of this tutorial to show you how you can make use of Parcel within your own projects.
Adding Source Files
With Parcel installed as a dependency of our project, let’s create some source files. Typically, I like to create a src folder and then have separate subfolders for Sass, JavaScript files etc. However, you can structure your project in whichever way you prefer.
myProject/
|── node_modules
|── src/
|   |── index.html
|   |── img/
|   |── scss/
|   |   |── styles.scss
|   |── js/
|   |   | - app.js
|── package.json
|── package-lock.json
Next, let’s add some content to our HTML file.
Notice how we can point our <link> tag directly to the SCSS file we’ve created and also the same for our JavaScript.
Using Parcel’s built-in server
With the source files created, let’s create an npm script to run Parcel for serving our source files. The benefit of creating a script is that this will make it clear for anyone else working with your code how they can get the project up and running.
In our project’s package.json file, we’ll add a new script called serve which runs the parcel serve command, setting the entry point to our index.html file in the src folder. If you’ve created your folder structure differently, be sure to update this command to point to wherever you have your index.html file.
With that done, we can run the Parcel server with:
npm run serveYou should then see the URL that Parcel is serving your content on (defaulting to http://localhost:1234) in the terminal:
Server running at http://localhost:1234
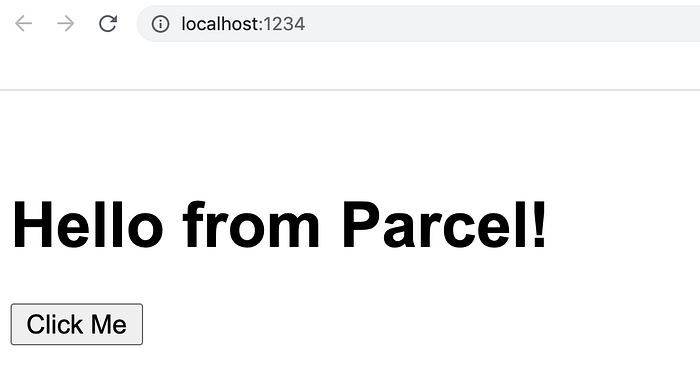
✨ Built in 2.45s.If you open up the server address in your browser, you should see the HTML page being displayed.
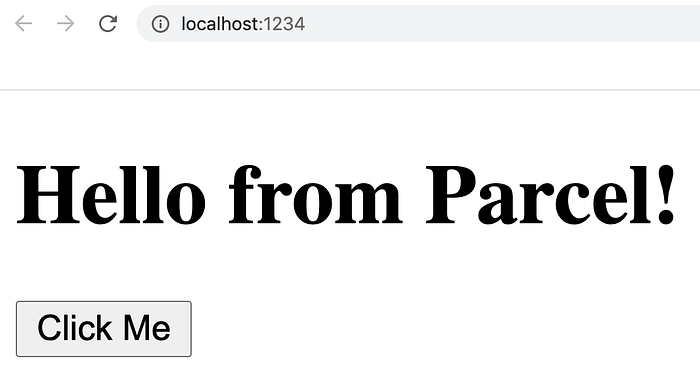
Nothing much impressive is happening at the moment but if we add some content to the styles.scss file in our project. For example, just some simple updates to the <h1> tag:
When you hit save, if you take a look at the terminal where you have the Parcel server running, you’ll notice you get a message Installing Sass… indicating that Parcel has identified the content in your SCSS file and is installing the necessary tool to process it into CSS (if you take a look in your package.json file, you’ll see sass has been automatically installed as a dev dependency.
Going back to the browser, you should see the updated font and margin being applied to the <h1> tag.
Using JavaScript Modules
JavaScript modules work straight out of the box with Parcel so if you want to split your JavaScript code up into different files and use the import/export keywords to reference different functions and values then Parcel will handle all of this for you.
Let’s say you wanted to write a function for the click event of the button on our page. We could store this as a new file, Button.js, in the js subfolder of our src folder.
Over in our app.js file we can then simply import the function and assign it to the click event of the button on the page.
Other types of assets
Parcel isn’t just limited to handling Sass and JavaScript files; it can also handle a wide range of other assets including images, TypeScript, CoffeScript, Less and Web-assembly.
For example, maybe you want to use TypeScript in your source code. Parcel will handle the transpilation of this to JavaScript.
We could convert our app.js to a TypeScript file:
Then update our reference to the source file in our index.html file, changing app.js to app.ts.
When you save these changes, Parcel will install the typescript package and use this to transpile your TypeScript code to JavaScript before providing it to the browser.
Building for production
Parcel has a build command to use when you’re ready to deploy your code.
Let’s create another npm script to handle this in our project.
You can remove the --no-source-maps flag if you want to include source maps in your final output.
Then run the build process on the terminal with:
npm run buildWhen finished, you will find a new folder in your project, the dist folder. Inside this folder you’ll find minifed versions of your HTML, JavaScript and CSS.
dist/
|── index.html
|── app.700f0921.js
|── styles.43cd3188.css
The JavaScript and CSS files have a hash applied to the filenames for cache-busting. If you have any images in your project, these will also be copied across to your output folder with a random hash.
If you take a look at the index.html file in the in the dist you’ll notice the references to the SCSS and JavaScript files have been replaced with the compiled distribution files, meaning your dist folder is ready to published to a web server / content host.
You’ll notice in the code above, the HTML has also been minified which not be everyone’s cup of tea. Luckily, the build command has lots of options for configuring the final output.
Parcel build options
If you have Parcel installed globally, you can check out all the available build options with parcel build --help. Here are a few useful options you might want to consider:
-d, --out-dir <path>  set the output directory. defaults to "dist"
--no-minify           disable minification
--no-source-maps      disable sourcemaps
--no-content-hash     disable content hashing
There are also options for setting the public URL of your project to something else, in-case it is being deployed to a different path on the remote hosting server.
Conclusion
Parcel makes putting together a simple static page really simple, keeping you away form all of the configuration needed with other bundlers and gets you working with your favourite development language (e.g. Sass, TypeScript) quickly without having to install all the tooling yourself.
We’ve seen how you can make use of Sass and JavaScript modules without needing to create a configuration file
Hopefully you’ve learnt how to:
- Install Parcel either globally or within a project as a dependency
- Serve content with the
parcel servecommand - Build your project for production with the
parcel buildcommand
Have you tried out Parcel.js? What do you think? Let me know on Twitter @codebubb
Thanks for reading.